
Chapter 3 of 24 · Build the foundation
Use the first Crossroads return
Talk to every marked character, use the Altar and Silver Pool, confirm that the Cauldron is unavailable, then begin the second night with one material target.
Do these first
Full steps belowRecognize these first
- Dialogue marker
- A speech-bubble symbol above a character. Speak to that character before leaving the Crossroads.
- Altar of Ashes
- The stone altar in Melinoë’s room. Spend Ashes here to reveal Arcana Cards and activate cards that fit within Grasp.
- Cauldron
- Hecate’s large cauldron. It is still being purified on the first return and becomes usable on the second return, after the second night.
- Silver Pool
- The weapon and tool area beside the Training Grounds. You can inspect it now. Its gathering-tool tab opens after Night's Craftwork is brewed later.
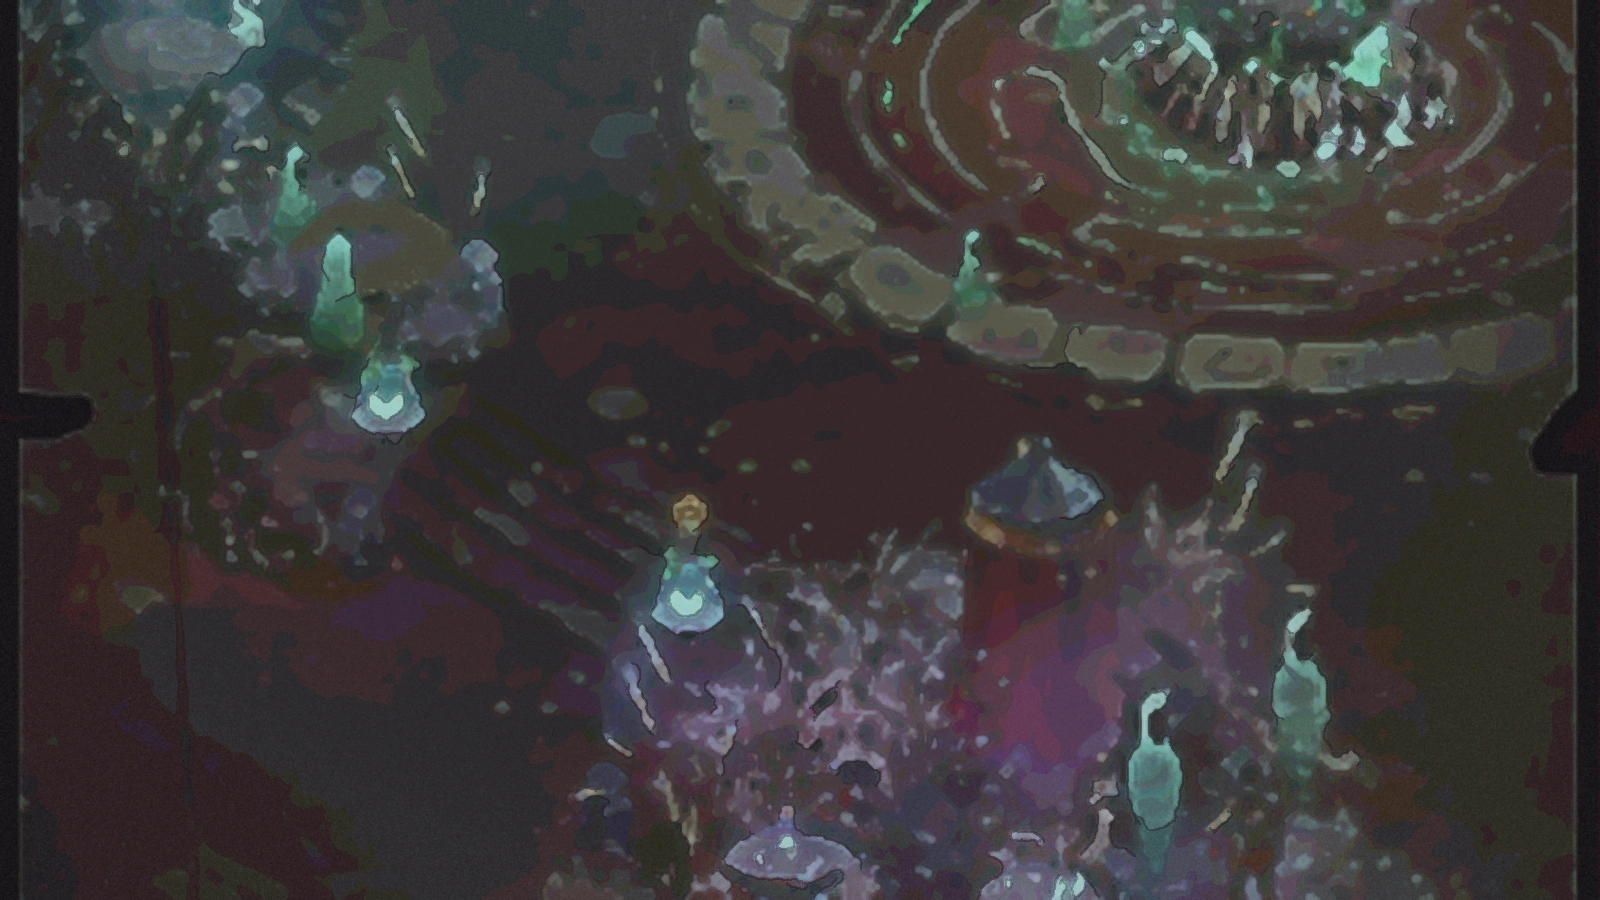
- Conversations
- Altar
- Cauldron · purifying
- Silver Pool
- Training Grounds
Keep the first return separate from the second
This return introduces permanent preparation without asking you to use every hub system at once. The locked Cauldron is an expected progression state, not a missing interaction. Leave after the current conversations and upgrades are finished, then use it on the next return.
What is available right now
This visit is for conversations, the Altar, the Silver Pool, and practice. The Cauldron is still being purified. It opens when you return after the second night.
- Available nowMarked conversations
Process every speech-bubble marker before spending or leaving.
- Available nowAltar of Ashes
Reveal and activate The Sorceress when 1 Ash is available.
- Available nowSilver Pool
Inspect weapons now. Gathering tools arrive after Night's Craftwork.
- Next returnCauldron
It is purifying during this visit and cannot brew an Incantation yet.
Walk the first-return circuit
After the first night, Melinoë wakes beside Frinos at the Crossroads. The Altar and Silver Pool are available, but the Cauldron is still being purified. It becomes usable when you return after the second night.
Start with every marked conversation
Begin beside Hecate, the tall masked witch near the glowing Cauldron, then walk near every character with a speech-bubble marker and use the displayed Talk prompt. A conversation can reveal the next system or recipe, so finish these before deciding that nothing is available.
Open the Altar of Ashes
If you have 1 Ash, reveal The Sorceress and make sure it is active. If the first night produced no Ashes, leave the Altar without buying a substitute and prioritize an Ash door next night.
Inspect the Silver Pool without forcing a purchase
Enter the Training Grounds and inspect the Silver Pool. Weapons are managed here, but the gathering-tool tab does not exist until Night's Craftwork is brewed. Leave if no available purchase matches the current plan.
Confirm that the Cauldron is still being purified
The locked interaction is the correct first-return state. You cannot brew an Incantation during this visit. The Cauldron opens when you come back after the second night.
Practice once, then begin the second night
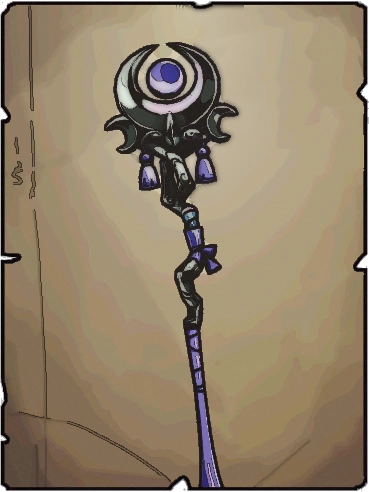
Keep the Staff equipped and rehearse Cast, two normal Attacks, then Sprint. Check once more for marked dialogue, then use the exit in the Training Grounds to begin night two.
Leave the first return ready for night two
Use what is available now. Reserve the first materials for the systems that open on the next return.
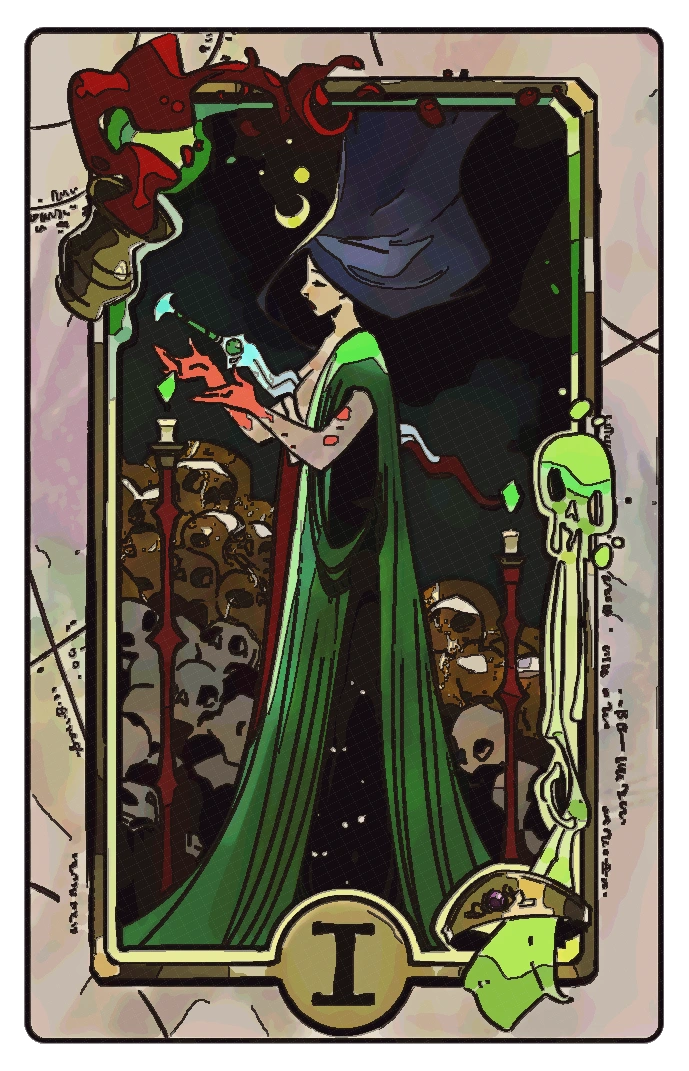
Reveal and activate The Sorceress if you returned with 1 Ash
It costs 1 Ash and 1 Grasp, and it makes every Omega move charge faster.
Reserve 1 Moly for Night's Craftwork
Moly grows in Erebus and is collected by hand. It is not a reward-door choice.

Reserve the next spare Ash for the Crescent Pick
The Pick costs 1 Ash, but you cannot buy it until Night's Craftwork opens the tool tab.

Witch's Staff with The Sorceress active
Keep the weapon and Attack sequence you just practiced. Add new systems without changing the combat plan at the same time.