
Arcana tier list
These ranks compare cards for reliable progression before a specialized aspect board changes the order. Open a card to see its Grasp cost, activation, and strongest aspect links.
What do you want from the run?
Safest ranks the options that give a player the most room to recover from positioning, timing, and resource mistakes. The order combines each published tier judgment with how often the option is favored by the safer authored aspect plans. Within each tier, reading order runs from best to weakest.
TierS
Defining choice for this ranking goal4 ranked choices
S
- Persistence
Equip Persistence in early progression and in any setup that needs a larger starting buffer.
Maximum Life and Magick help every weapon before the run offers any rewards.
It provides no scaling after the starting resources stop being the route constraint.
When to choose another: If maximum Life is already sufficient but repeated chip damage accumulates, equip The Wayward Son for room-to-room recovery.
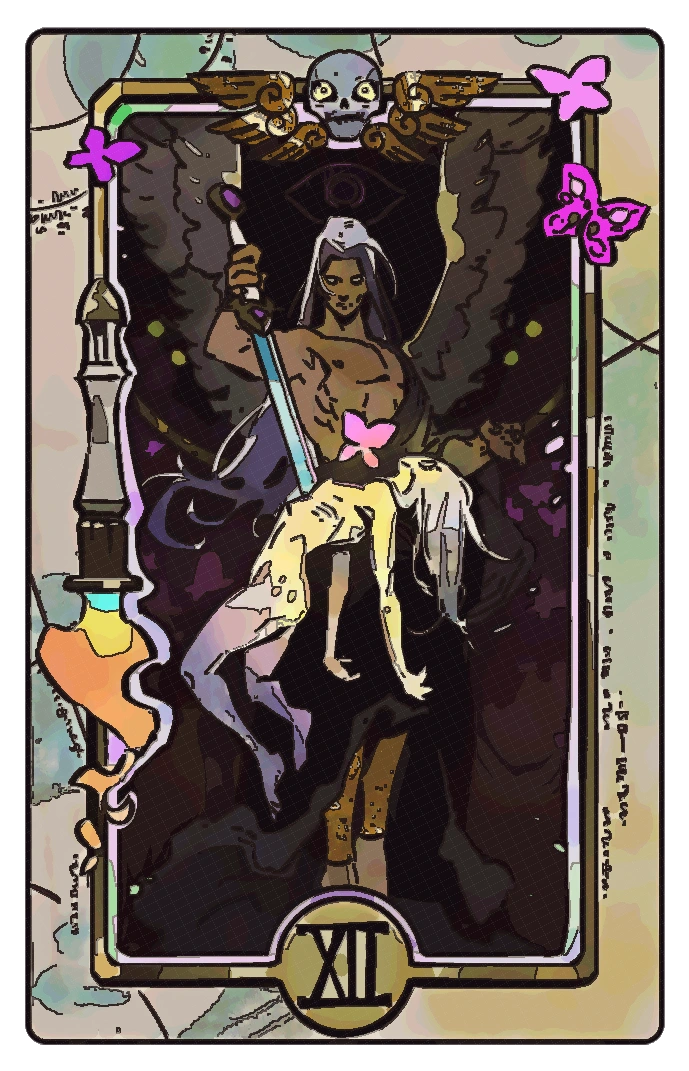
- Death
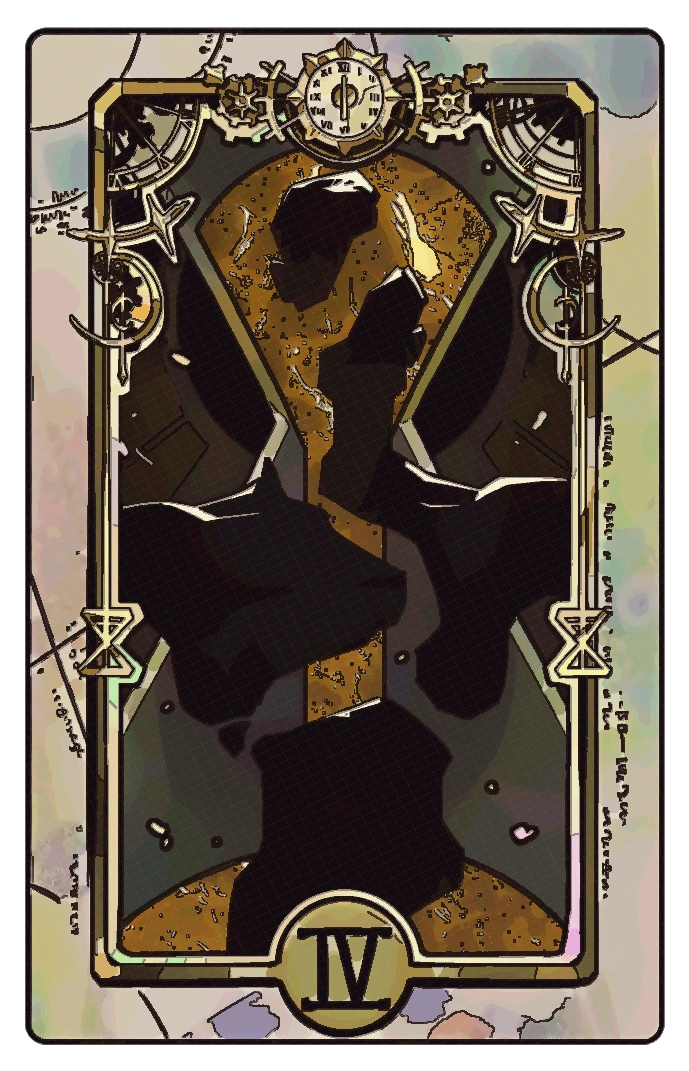
Equip Death until routes and guardians clear without using its Death Defiance.
A guaranteed extra recovery protects an otherwise successful progression attempt.
Four Grasp is inefficient when the run already finishes without consuming the effect.
When to choose another: Only after intentionally removing every Death Defiance should Strength replace Death for its low-Life damage and defense.
- The Sorceress
Equip The Sorceress while learning Omega moves or using an Omega-heavy aspect.
Its one-Grasp charge-speed bonus shortens the exposed part of every Omega action.
A build that rarely channels Omega moves gains little from the slot.
When to choose another: If Sprint positioning causes more damage than Omega channels, equip The Swift Runner instead.
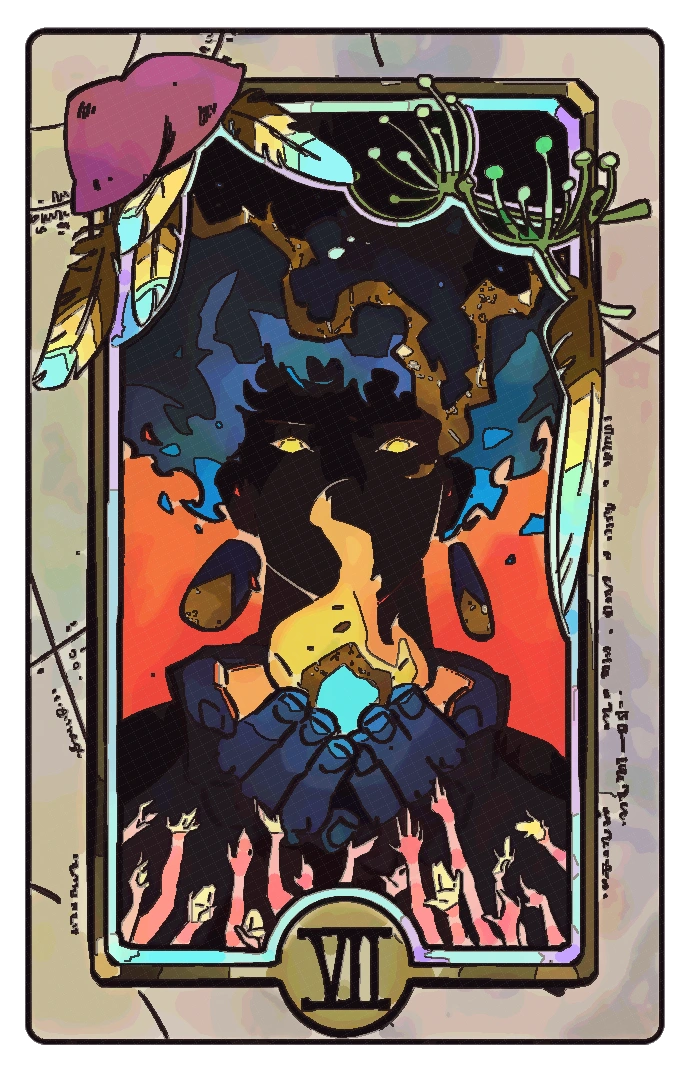
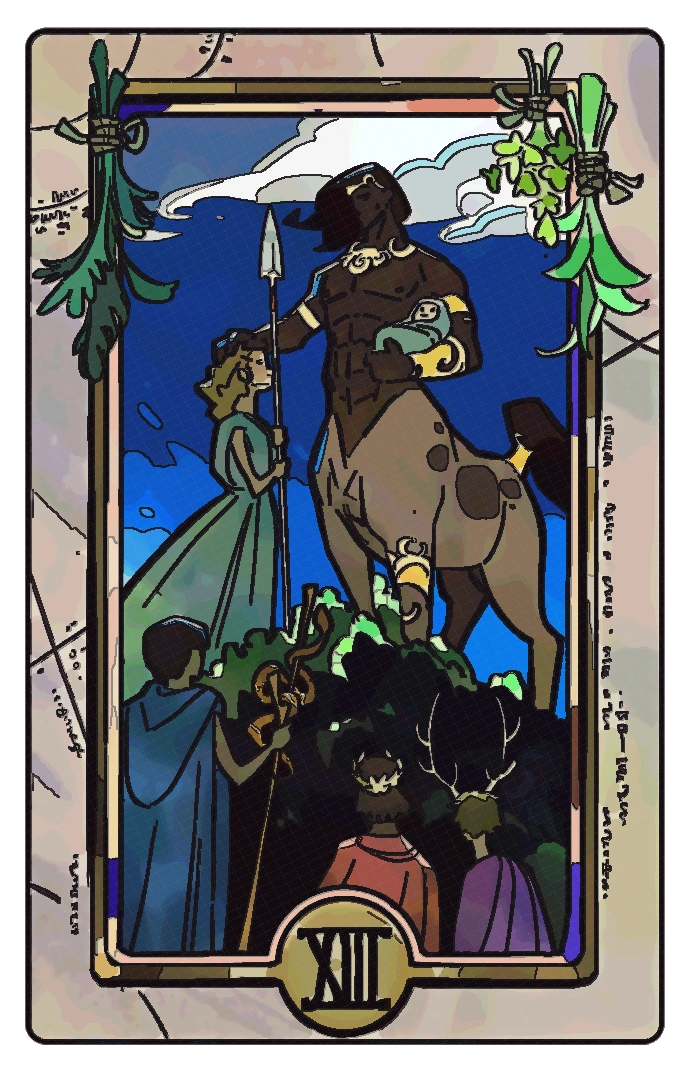
- The Centaur
Activate The Centaur when the board can meet its condition without sacrificing the main combat setup.
Free maximum Life and Magick accumulate during the same rooms needed to finish a route.
Late activation or short routes provide fewer growth intervals.
When to choose another: If the board cannot meet The Centaur's activation pattern, equip Persistence for immediate Life and Magick instead.
TierA
Strong choice with a clear tradeoff11 ranked choices
A
- The Unseen
Equip The Unseen for aspects that repeatedly spend Magick and lack reliable recovery.
Passive regeneration keeps Omega and Hex actions available across long rooms and guardians.
Five Grasp is expensive when the build spends little Magick or already has strong recovery.
When to choose another: If five Grasp does not fit, use Persistence for a cheaper starting Magick buffer and secure regeneration from a Boon.
- The Swift Runner
Equip The Swift Runner for mobile aspects or routes where repositioning causes damage taken.
One Grasp improves Sprint speed and lets Melinoe pass through most foes.
It does not protect a stationary channel or repair poor Sprint timing.
When to choose another: If stationary Omega channels cause the damage taken, equip The Sorceress. If Cast is the main escape tool, equip The Messenger.
- The Furies
Equip The Furies when the build keeps priority targets inside Cast.
Its damage bonus rewards the same Cast placement used for control and Origination setup.
Mobile targets or a sequence that leaves Cast behind reduce its uptime.
When to choose another: If targets will not remain inside Cast, spend the Grasp on a card that directly supports the aspect's primary move.
- The Lovers
Equip The Lovers when guardian hits are the main reason otherwise stable runs fail.
Its encounter shields prevent the first mistakes in each guardian fight.
Three Grasp adds no room-clear speed and the protected hits are limited.
When to choose another: If fatal mistakes end the run, equip Death. If ordinary damage is the larger problem, equip Persistence.
- Divinity
Activate Divinity when the board condition fits a completed combat setup.
Epic Boon access improves ordinary offers without requiring a specific god pair.
The activation layout can cost more useful cards than the rarity increase returns.
When to choose another: If Divinity's activation pattern breaks the combat core, use Excellence when five Grasp fits or keep the core unchanged.
- Origination
Equip Origination when the build can maintain curses from two Olympians on priority targets.
The damage bonus rewards a repeatable two-curse package across weapon, Cast, Sprint, and support Boons.
Five Grasp produces no value until both curses remain active on the same target.
When to choose another: If the Boon plan cannot keep two curses on the same target, spend the five Grasp on unconditional survival or Magick support.
- The Champions
Equip The Champions when an aspect needs a particular main Boon or prerequisite.
Choice rerolls directly improve the chance of completing the planned package after the correct reward appears.
Four Grasp is excessive for builds that accept many gods and core-slot options.
When to choose another: If finding the correct reward door is harder than choosing within an offer, equip The Enchantress instead.
- The Enchantress
Equip The Enchantress when route rewards and permanent resources matter more than fishing for one Boon.
Location rerolls can replace an unwanted door before the next encounter is chosen.
It cannot reroll the choices inside an offered Boon and costs three Grasp.
When to choose another: If the correct god already appears but the needed Boon does not, equip The Champions to reroll that god's choices.
- The Fates
Activate The Fates when flexible rerolls help both doors and choice screens.
General rerolls can repair either route rewards or an offered set of choices.
Its board activation condition competes with other zero-Grasp cards.
When to choose another: If only doors need rerolls, equip The Enchantress. If only Boon choices need rerolls, equip The Champions.
- The Messenger
Equip The Messenger when Cast placement also serves as an escape or repositioning tool.
Brief invulnerability and movement speed make an action already used in combat safer.
The protection is short and depends on deliberate Cast timing.
When to choose another: If Cast is not part of the escape sequence, equip The Swift Runner for movement value that does not depend on Cast timing.
- The Wayward Son
Equip The Wayward Son when room damage is the main source of failed routes.
Room-to-room healing repairs repeated small mistakes for only one Grasp.
It cannot prevent burst damage or restore enough Life during one guardian encounter.
When to choose another: If burst damage ends the night before room healing can help, equip Persistence for a larger starting Life buffer.
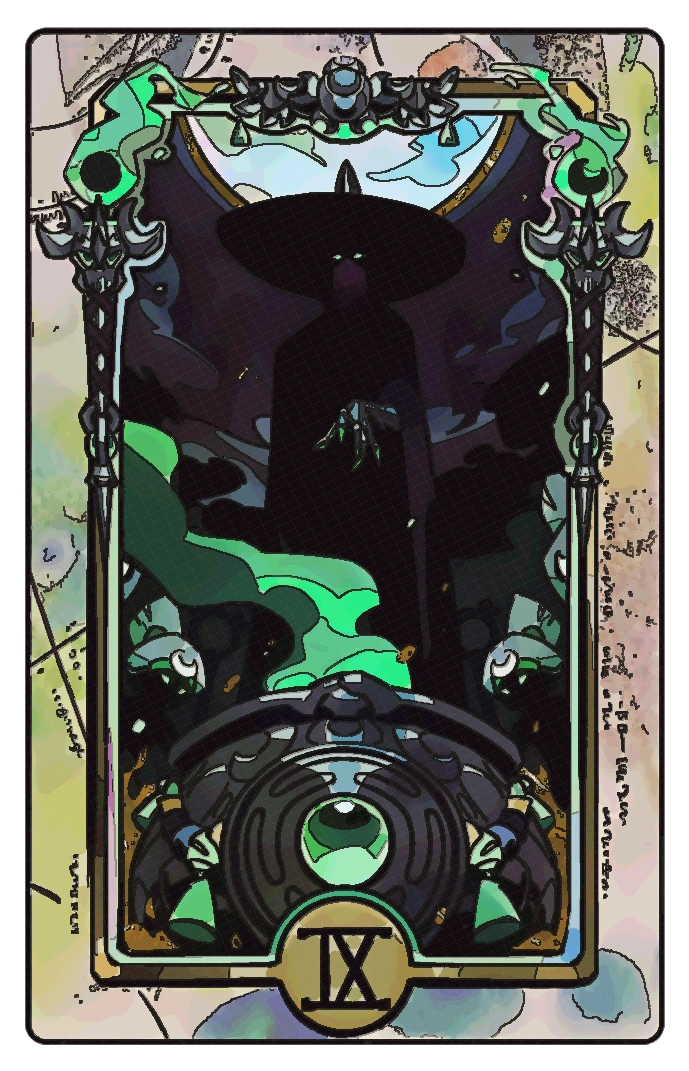
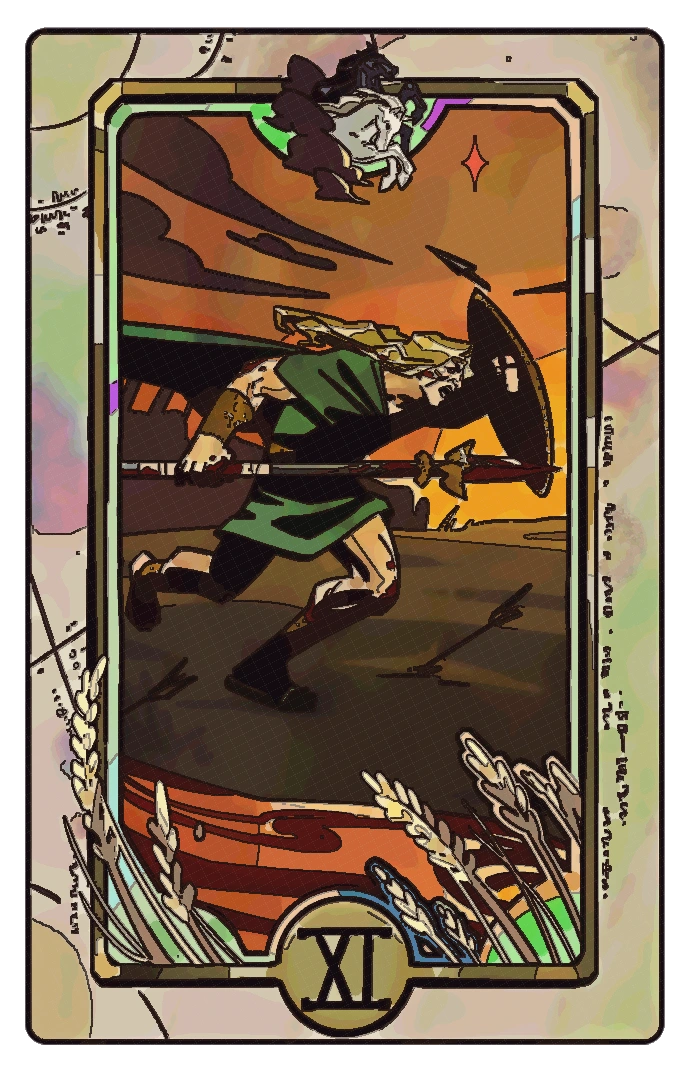
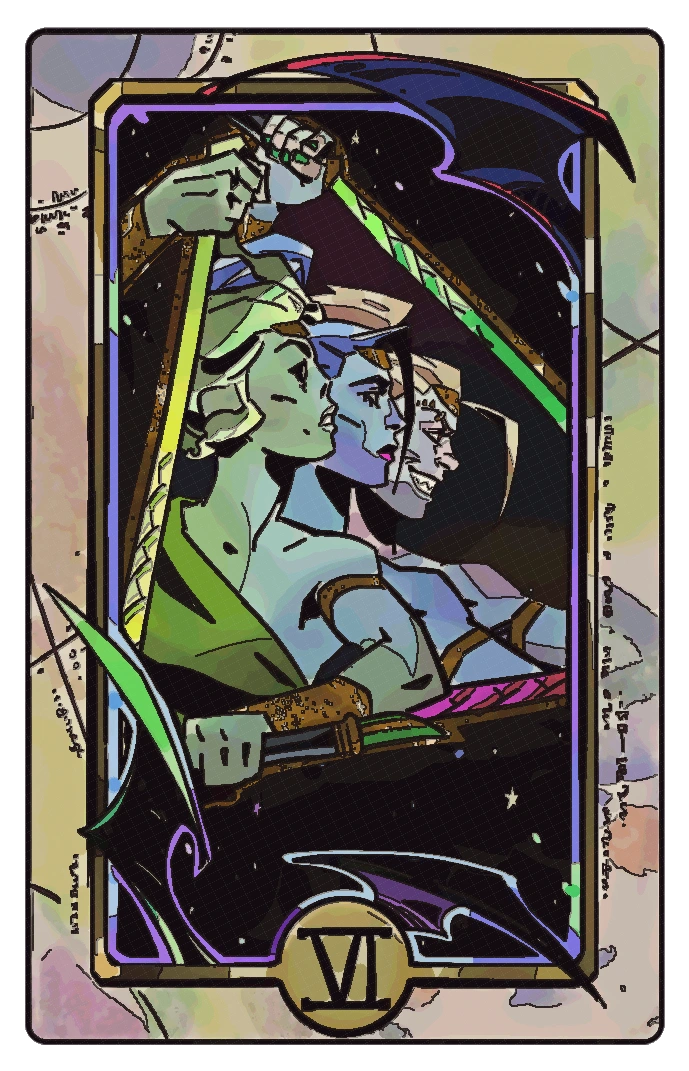
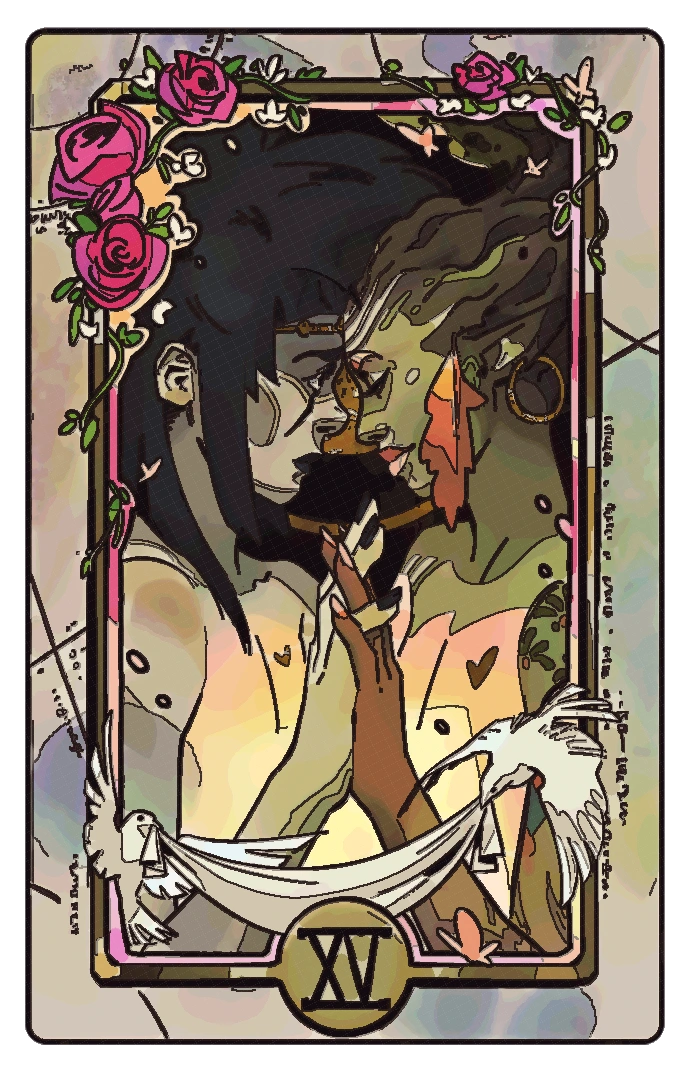
TierB
Useful when its conditions match10 ranked choices
B
- The Moon
Activate The Moon when Hex use is part of the planned attack pattern.
Automatic Hex charge adds uses without forcing more Magick spending into the weapon sequence.
The card needs its activation condition and adds little when the chosen Hex is not useful.
When to choose another: If Magick runs out before the Hex can charge, equip The Unseen for regeneration instead.
- Eternity
Equip Eternity when long Omega channels need a larger reaction window.
The slowdown protects deliberate charging and aiming during active encounters.
Its three-Grasp cost is hard to justify for quick taps or normal-move builds.
When to choose another: If three Grasp does not fit or the longer slowdown is unnecessary, equip The Sorceress for a cheaper channel-speed bonus.
- Excellence
Equip Excellence only after the board can afford five Grasp beyond the functional combat core.
Higher rarity and Legendary access can raise the ceiling of every offered god package.
It improves offer quality rather than fixing missing main Boon slots or survival.
When to choose another: If a required functional Boon is still missing, equip The Champions instead of spending five Grasp on offer quality.
- Judgment
Activate Judgment for long routes when the starting board can survive until multiple guardians fall.
Each guardian can add random inactive cards and raise the late-run ceiling.
The early route begins weaker and random cards may not support the selected aspect.
When to choose another: If the weakened starting board cannot reach the first Guardian reliably, equip the required combat cards directly.
- Night
Activate Night when the setup already creates the required Death effect and attacks often enough to use critical chance.
Critical chance can scale every eligible hit without reserving a main Boon slots.
Its activation and random payoff make it less reliable than direct survival or resource cards.
When to choose another: If the Death activation is unavailable but two curses stay active, equip Origination for predictable damage instead.
- Strength
Equip Strength only for a deliberate no-Death-Defiance setup.
Its damage reduction and damage bonus remain active together when the condition is intentionally met.
Removing Death Defiance makes mistakes harder to recover from and is poor beginner progression advice.
When to choose another: While learning routes or Fear conditions, equip Death instead so one fatal mistake does not end the night.
- The Artificer
Equip The Artificer when permanent-resource doors are less valuable than immediate run power.
Its conversions can rescue a route whose ordinary rewards do not support the current build.
The result is random and spending the conversion sacrifices permanent progression value.
When to choose another: If permanent progression is still the priority, keep the resource reward or use The Enchantress to reroll its door before entering.
- The Boatman
Equip The Boatman when the route has early shops worth funding.
Starting Gold converts five Grasp into immediate shop flexibility.
The value is lost when early shops or useful purchases do not appear.
When to choose another: If no early shop purchase is planned, spend the five Grasp on a combat card that works in every room.
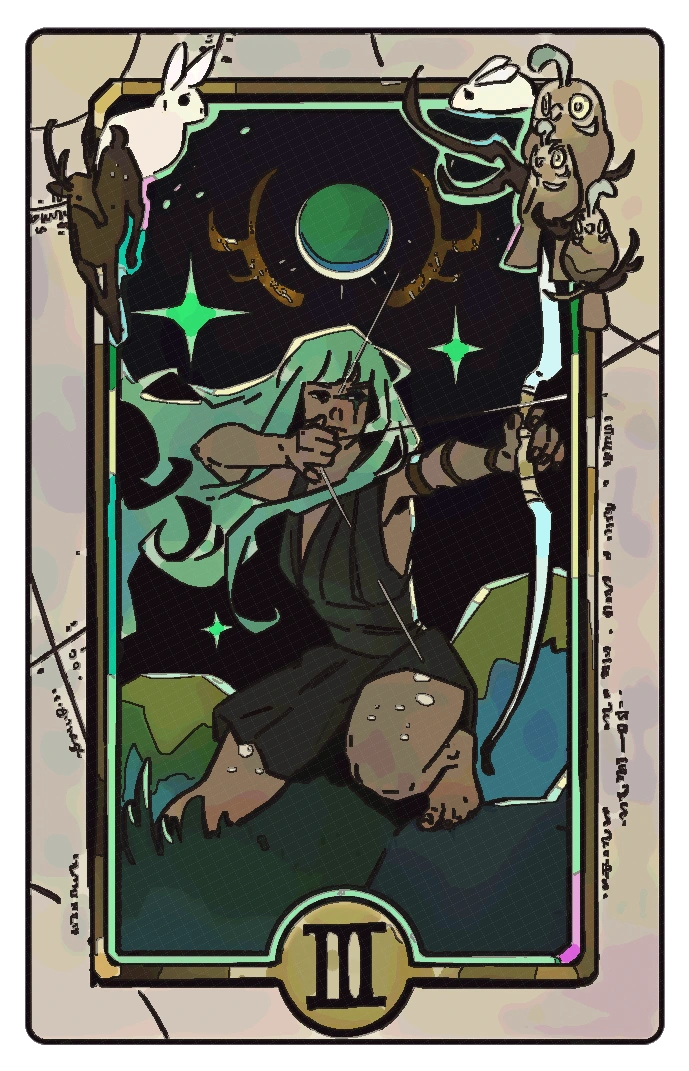
- The Huntress
Equip The Huntress only when the normal Attack or Special remains useful at low Magick.
It turns an expected low-Magick state into direct weapon damage.
Fast Magick recovery or an Omega-only loop reduces its active time.
When to choose another: If the build reliably maintains two curses, equip Origination for damage that does not depend on staying low on Magick.
- The Queen
Activate The Queen when the planned build already contains reachable Duo prerequisites.
Additional Duo chance matters after both gods and prerequisite sets are represented.
The card's activation condition and offer dependence make it useless to an unfinished required build pieces.
When to choose another: If no reachable Duo path is already present, use Excellence for broad rarity or The Champions to find a required Boon.
TierS
Defining choice for this ranking goal5 ranked choices
S
- Origination
Equip Origination when the build can maintain curses from two Olympians on priority targets.
The damage bonus rewards a repeatable two-curse package across weapon, Cast, Sprint, and support Boons.
Five Grasp produces no value until both curses remain active on the same target.
When to choose another: If the Boon plan cannot keep two curses on the same target, spend the five Grasp on unconditional survival or Magick support.
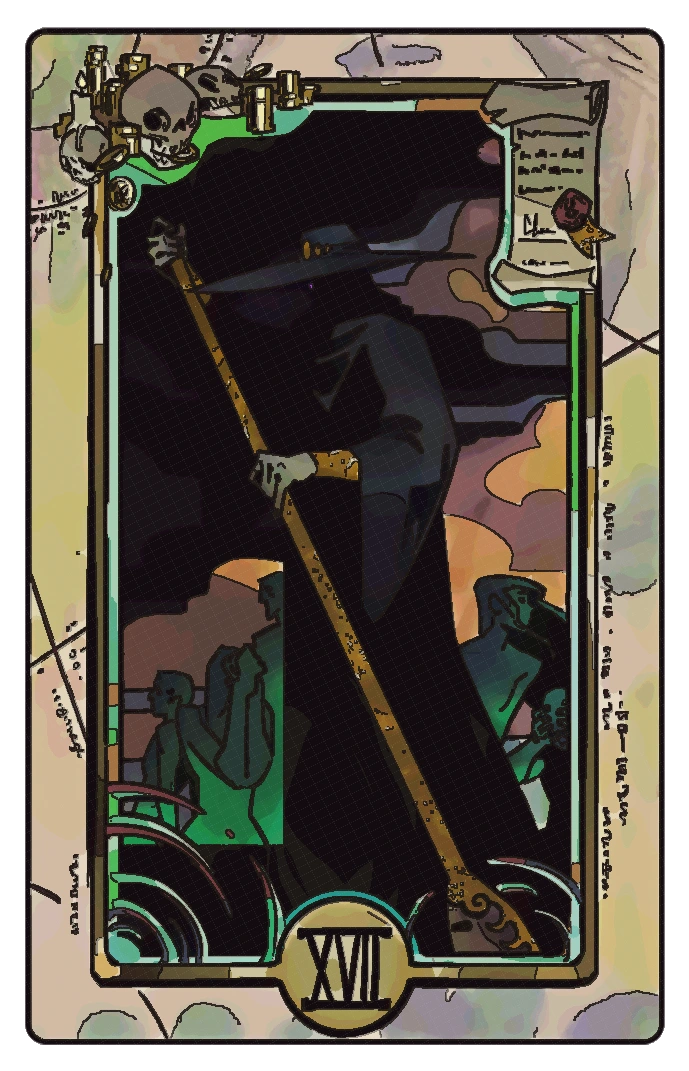
- Death
Equip Death until routes and guardians clear without using its Death Defiance.
A guaranteed extra recovery protects an otherwise successful progression attempt.
Four Grasp is inefficient when the run already finishes without consuming the effect.
When to choose another: Only after intentionally removing every Death Defiance should Strength replace Death for its low-Life damage and defense.
- The Furies
Equip The Furies when the build keeps priority targets inside Cast.
Its damage bonus rewards the same Cast placement used for control and Origination setup.
Mobile targets or a sequence that leaves Cast behind reduce its uptime.
When to choose another: If targets will not remain inside Cast, spend the Grasp on a card that directly supports the aspect's primary move.
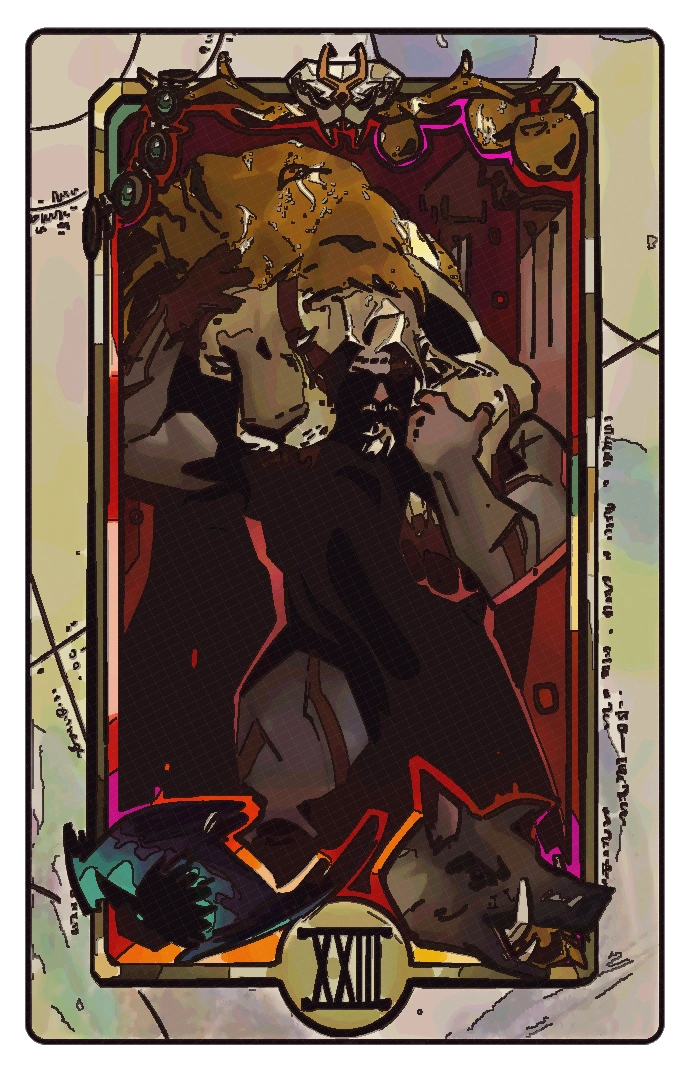
- The Centaur
Activate The Centaur when the board can meet its condition without sacrificing the main combat setup.
Free maximum Life and Magick accumulate during the same rooms needed to finish a route.
Late activation or short routes provide fewer growth intervals.
When to choose another: If the board cannot meet The Centaur's activation pattern, equip Persistence for immediate Life and Magick instead.
- The Fates
Activate The Fates when flexible rerolls help both doors and choice screens.
General rerolls can repair either route rewards or an offered set of choices.
Its board activation condition competes with other zero-Grasp cards.
When to choose another: If only doors need rerolls, equip The Enchantress. If only Boon choices need rerolls, equip The Champions.
TierA
Strong choice with a clear tradeoff9 ranked choices
A
- Persistence
Equip Persistence in early progression and in any setup that needs a larger starting buffer.
Maximum Life and Magick help every weapon before the run offers any rewards.
It provides no scaling after the starting resources stop being the route constraint.
When to choose another: If maximum Life is already sufficient but repeated chip damage accumulates, equip The Wayward Son for room-to-room recovery.
- The Messenger
Equip The Messenger when Cast placement also serves as an escape or repositioning tool.
Brief invulnerability and movement speed make an action already used in combat safer.
The protection is short and depends on deliberate Cast timing.
When to choose another: If Cast is not part of the escape sequence, equip The Swift Runner for movement value that does not depend on Cast timing.
- The Swift Runner
Equip The Swift Runner for mobile aspects or routes where repositioning causes damage taken.
One Grasp improves Sprint speed and lets Melinoe pass through most foes.
It does not protect a stationary channel or repair poor Sprint timing.
When to choose another: If stationary Omega channels cause the damage taken, equip The Sorceress. If Cast is the main escape tool, equip The Messenger.
- The Sorceress
Equip The Sorceress while learning Omega moves or using an Omega-heavy aspect.
Its one-Grasp charge-speed bonus shortens the exposed part of every Omega action.
A build that rarely channels Omega moves gains little from the slot.
When to choose another: If Sprint positioning causes more damage than Omega channels, equip The Swift Runner instead.
- The Wayward Son
Equip The Wayward Son when room damage is the main source of failed routes.
Room-to-room healing repairs repeated small mistakes for only one Grasp.
It cannot prevent burst damage or restore enough Life during one guardian encounter.
When to choose another: If burst damage ends the night before room healing can help, equip Persistence for a larger starting Life buffer.
- The Lovers
Equip The Lovers when guardian hits are the main reason otherwise stable runs fail.
Its encounter shields prevent the first mistakes in each guardian fight.
Three Grasp adds no room-clear speed and the protected hits are limited.
When to choose another: If fatal mistakes end the run, equip Death. If ordinary damage is the larger problem, equip Persistence.
- The Enchantress
Equip The Enchantress when route rewards and permanent resources matter more than fishing for one Boon.
Location rerolls can replace an unwanted door before the next encounter is chosen.
It cannot reroll the choices inside an offered Boon and costs three Grasp.
When to choose another: If the correct god already appears but the needed Boon does not, equip The Champions to reroll that god's choices.
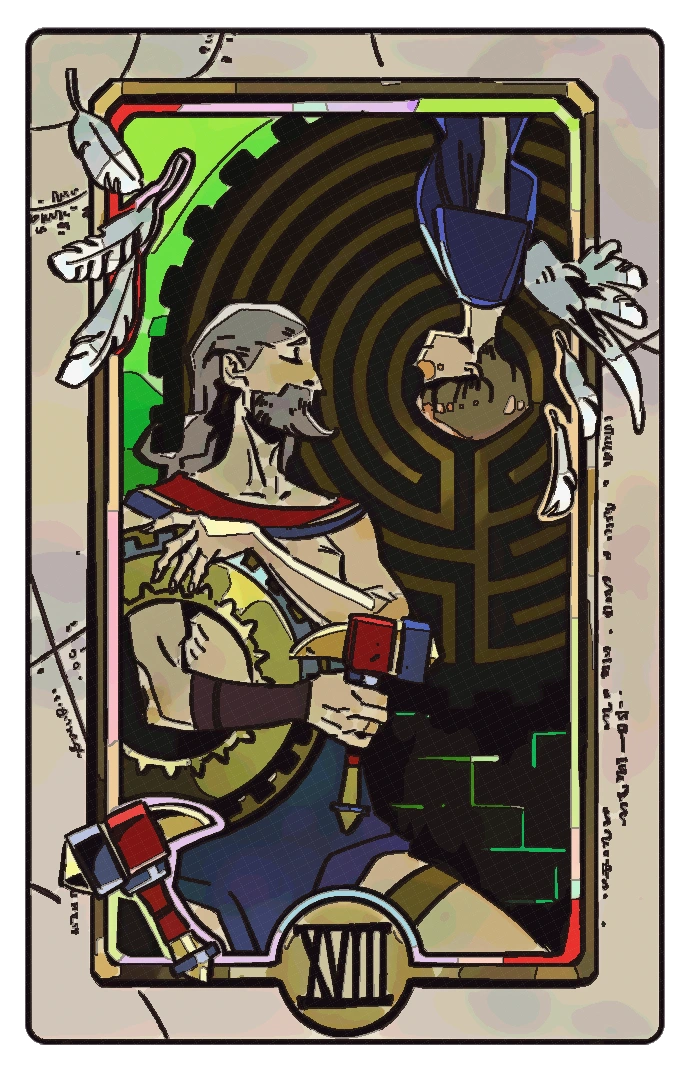
- The Boatman
Equip The Boatman when the route has early shops worth funding.
Starting Gold converts five Grasp into immediate shop flexibility.
The value is lost when early shops or useful purchases do not appear.
When to choose another: If no early shop purchase is planned, spend the five Grasp on a combat card that works in every room.
- Eternity
Equip Eternity when long Omega channels need a larger reaction window.
The slowdown protects deliberate charging and aiming during active encounters.
Its three-Grasp cost is hard to justify for quick taps or normal-move builds.
When to choose another: If three Grasp does not fit or the longer slowdown is unnecessary, equip The Sorceress for a cheaper channel-speed bonus.
TierB
Useful when its conditions match9 ranked choices
B
- Night
Activate Night when the setup already creates the required Death effect and attacks often enough to use critical chance.
Critical chance can scale every eligible hit without reserving a main Boon slots.
Its activation and random payoff make it less reliable than direct survival or resource cards.
When to choose another: If the Death activation is unavailable but two curses stay active, equip Origination for predictable damage instead.
- The Champions
Equip The Champions when an aspect needs a particular main Boon or prerequisite.
Choice rerolls directly improve the chance of completing the planned package after the correct reward appears.
Four Grasp is excessive for builds that accept many gods and core-slot options.
When to choose another: If finding the correct reward door is harder than choosing within an offer, equip The Enchantress instead.
- The Artificer
Equip The Artificer when permanent-resource doors are less valuable than immediate run power.
Its conversions can rescue a route whose ordinary rewards do not support the current build.
The result is random and spending the conversion sacrifices permanent progression value.
When to choose another: If permanent progression is still the priority, keep the resource reward or use The Enchantress to reroll its door before entering.
- Strength
Equip Strength only for a deliberate no-Death-Defiance setup.
Its damage reduction and damage bonus remain active together when the condition is intentionally met.
Removing Death Defiance makes mistakes harder to recover from and is poor beginner progression advice.
When to choose another: While learning routes or Fear conditions, equip Death instead so one fatal mistake does not end the night.
- The Moon
Activate The Moon when Hex use is part of the planned attack pattern.
Automatic Hex charge adds uses without forcing more Magick spending into the weapon sequence.
The card needs its activation condition and adds little when the chosen Hex is not useful.
When to choose another: If Magick runs out before the Hex can charge, equip The Unseen for regeneration instead.
- The Queen
Activate The Queen when the planned build already contains reachable Duo prerequisites.
Additional Duo chance matters after both gods and prerequisite sets are represented.
The card's activation condition and offer dependence make it useless to an unfinished required build pieces.
When to choose another: If no reachable Duo path is already present, use Excellence for broad rarity or The Champions to find a required Boon.
- The Unseen
Equip The Unseen for aspects that repeatedly spend Magick and lack reliable recovery.
Passive regeneration keeps Omega and Hex actions available across long rooms and guardians.
Five Grasp is expensive when the build spends little Magick or already has strong recovery.
When to choose another: If five Grasp does not fit, use Persistence for a cheaper starting Magick buffer and secure regeneration from a Boon.
- Divinity
Activate Divinity when the board condition fits a completed combat setup.
Epic Boon access improves ordinary offers without requiring a specific god pair.
The activation layout can cost more useful cards than the rarity increase returns.
When to choose another: If Divinity's activation pattern breaks the combat core, use Excellence when five Grasp fits or keep the core unchanged.
- Judgment
Activate Judgment for long routes when the starting board can survive until multiple guardians fall.
Each guardian can add random inactive cards and raise the late-run ceiling.
The early route begins weaker and random cards may not support the selected aspect.
When to choose another: If the weakened starting board cannot reach the first Guardian reliably, equip the required combat cards directly.
TierC
Specialized or demanding2 ranked choices
C
- Excellence
Equip Excellence only after the board can afford five Grasp beyond the functional combat core.
Higher rarity and Legendary access can raise the ceiling of every offered god package.
It improves offer quality rather than fixing missing main Boon slots or survival.
When to choose another: If a required functional Boon is still missing, equip The Champions instead of spending five Grasp on offer quality.
- The Huntress
Equip The Huntress only when the normal Attack or Special remains useful at low Magick.
It turns an expected low-Magick state into direct weapon damage.
Fast Magick recovery or an Omega-only loop reduces its active time.
When to choose another: If the build reliably maintains two curses, equip Origination for damage that does not depend on staying low on Magick.